
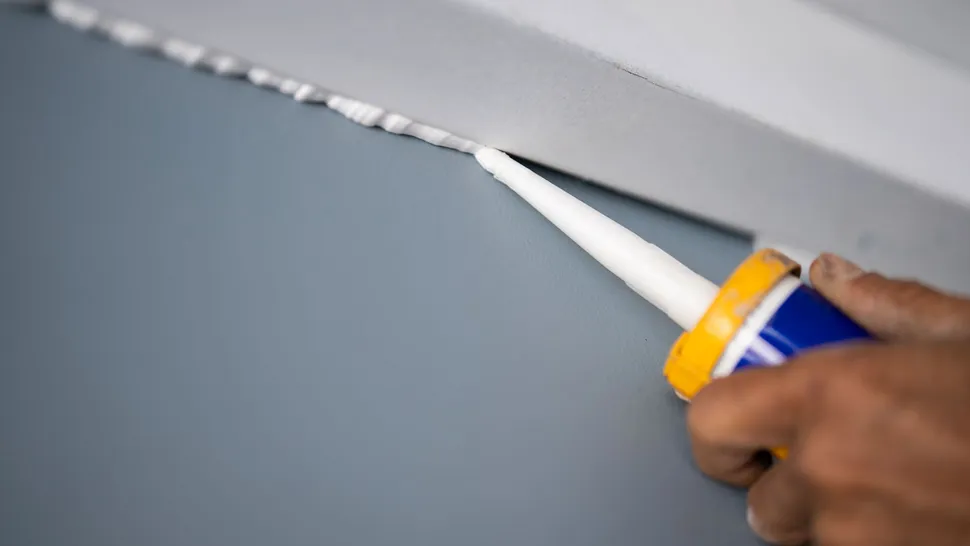
Small cracks in caulk rarely stay small once moisture, temperature changes, and normal building movement begin working on them. Regular caulk maintenance helps keep joints sealed around windows, doors, counters, tubs, siding transitions, and other vulnerable areas.
The job is mostly inspection and timely repair. Catching separation early can prevent water from reaching materials that are harder and more expensive to replace.
Check Caulk Before the Gap Widens
Inspect caulk lines several times a year, especially around areas exposed to water or outdoor weather. Look for shrinking, cracking, peeling edges, discoloration, or small sections pulling away from the adjoining surface.
Homeowners gathering broader property upkeep ideas should make seal inspection part of routine maintenance rather than waiting for visible water damage. A narrow opening may already allow moisture or outside air into the joint.
Pay Attention to Corners and Movement Joints
Corners often show failure first because adjoining materials can move differently. Window frames, backsplashes, tubs, exterior trim, and countertop transitions are common examples.
Press lightly near suspicious sections. Caulk that feels loose, brittle, unusually soft, or detached may need replacement instead of another layer added over it.
Keep the Surface Clean
Dirt, soap residue, grease, and mildew can hide early deterioration. Gentle cleaning makes damaged edges easier to see and helps you decide whether the seal remains intact.
Many household maintenance topics focus on visible surfaces, but the narrow joints between materials deserve equal attention. Use a cleaner appropriate for the surrounding material and avoid aggressive scraping during routine inspection.
| Caulk Condition | What You May Notice | Best Response |
|---|---|---|
| Sound | Smooth, firmly attached line | Monitor |
| Minor surface crack | Thin split with attached edges | Inspect closely |
| Separation | Gap along one edge | Remove and reseal |
| Deterioration | Brittle or missing sections | Replace damaged bead |
Remove Failed Material Before Resealing
Applying fresh caulk over badly deteriorated material often creates a temporary cosmetic fix rather than a reliable seal. Loose or contaminated sections underneath can prevent the new bead from bonding correctly.
For homeowners exploring practical home improvement guidance, surface preparation is worth treating as part of the repair rather than an optional extra. Remove failed caulk carefully, clean the joint, allow it to dry, and use a sealant suitable for the location.
Let the Joint Dry Properly
Moisture trapped inside a joint can interfere with adhesion. Bathrooms, kitchens, window openings, and exterior joints may need extra drying time after cleaning or wet weather.
Follow the product instructions for surface preparation and curing. A neat bead applied too soon can fail faster than a less perfect-looking bead installed under suitable conditions.
Common Caulking Mistakes to Avoid
More caulk isn’t always better. Thick layers placed over cracked material can hide the problem without restoring a dependable bond.
Another mistake is using one product everywhere. Interior paintable caulk, bathroom sealant, and exterior joint sealants can have different properties. Choose according to the surfaces, movement, moisture exposure, and manufacturer recommendations rather than appearance alone.
Waiting until water stains appear is another poor strategy. By then, damage may already exist behind the visible joint.
Frequently Asked Questions
How often should household caulk be checked?
A quick inspection a few times each year is sensible, with extra attention after severe weather or whenever nearby surfaces are cleaned or repaired. High-moisture and exterior areas usually deserve the closest observation.
Can small caulk cracks be covered with another bead?
Only when the existing material remains firmly bonded and the product instructions allow it. If caulk is loose, brittle, dirty, or separating, removing the failed section usually gives the repair a better bonding surface.
What makes caulk fail early?
Poor surface preparation, trapped moisture, incompatible materials, excessive joint movement, incorrect product choice, and insufficient curing can all shorten service life. Outdoor exposure can also speed deterioration.
Repair the Small Gap While It Is Still Small
Caulk works quietly, which makes it easy to ignore until something nearby becomes stained, swollen, drafty, or damp. Add seal inspection to ordinary home maintenance and deal with loose edges before the joint opens further.
A few minutes spent checking vulnerable transitions can turn a developing repair problem into a simple resealing job.
